My oldest daughter has been baking with me pretty much since she could toddle around the kitchen. During the holiday season when she was two years old, she would often peer up at me with her big blue eyes, sign “more, more” with her chubby toddler hands and say, “We make treats, Mommy? We make treats?” So we made treats, and have continued to bake together. She’s six years old now, and gets just as excited to bake with me now as she did as a toddler. Lucky for me, she’s a quick learner and her skill set has improved over the years, so she can do more than lick the bowl and sample the wares.
In our family, pies equal love. Therefore, mini pies equal portable, perfectly portioned love! Adorable, customizable, and mini-sized, these little pies are sure to be a hit at your next teddy bear picnic, princess tea party, or family celebration.
My little pie maker will even make a batch for guests to take home after Thanksgiving Dinner this year.
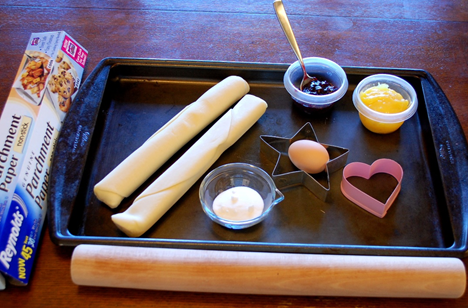
1. Assemble your supplies and ingredients. You will need a large baking pan, your favorite cookie cutters, filling of your choice, parchment paper, one egg, sugar for sprinkling, pie crusts, and a rolling pin.
We used lemon curd and blackberry jam for the pie filling and selected a heart and a star cookie cutter.
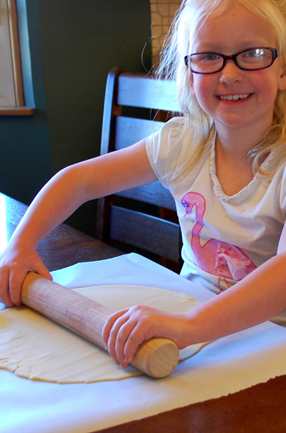
2. Enlist the assistance of your cutest helper and put her to work!
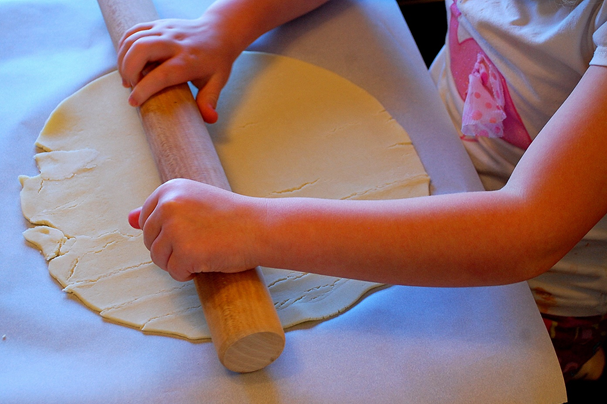
3. Roll out the pie crust.
Here we rolled out the crust on parchment for easy clean-up, but rolling on a floured surface would also work fine.
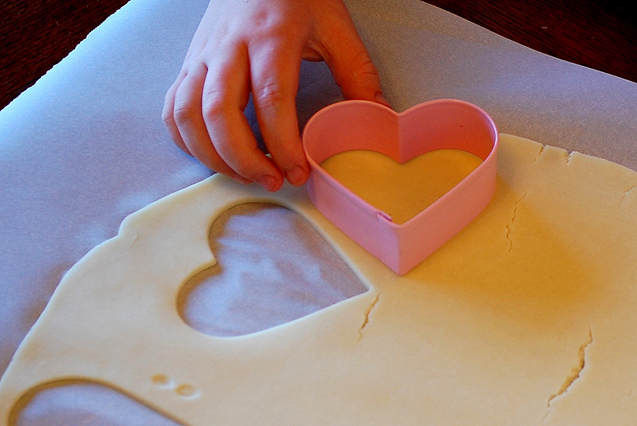
4. Cut out dough with cookie cutters, ensuring you have an even number of each shape for a top and a bottom crust.
5. Add a teaspoon full of filling in the center of half of the crusts.
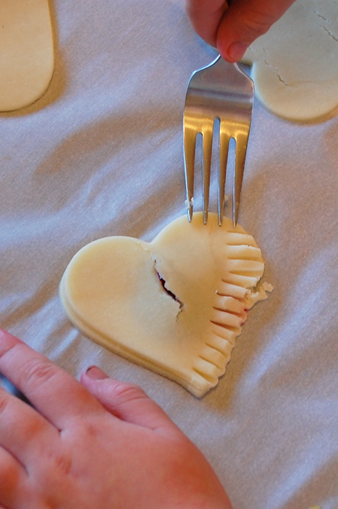
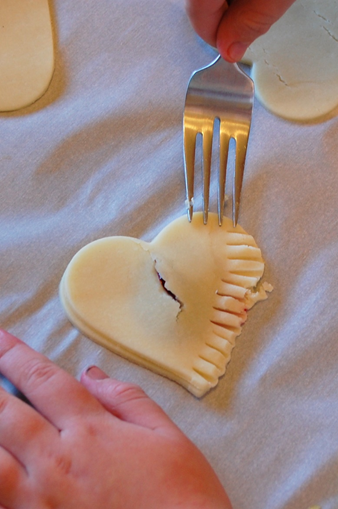
6. Add the top crust and crimp the edges together using the tines of a fork.
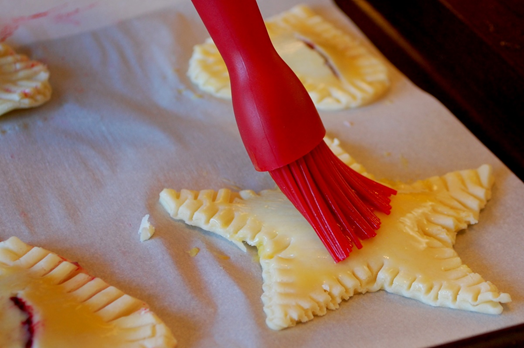
7. Lightly brush the pastry surface with beaten egg.
8. Sprinkle tops of pies with sugar.
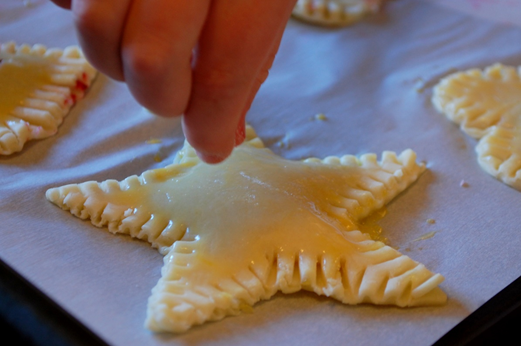
9. Bake 425 degrees for 9-11 minutes.
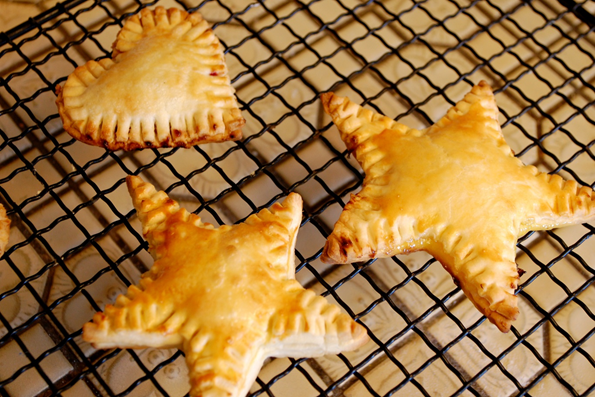
10. Cool pies on a wire rack.
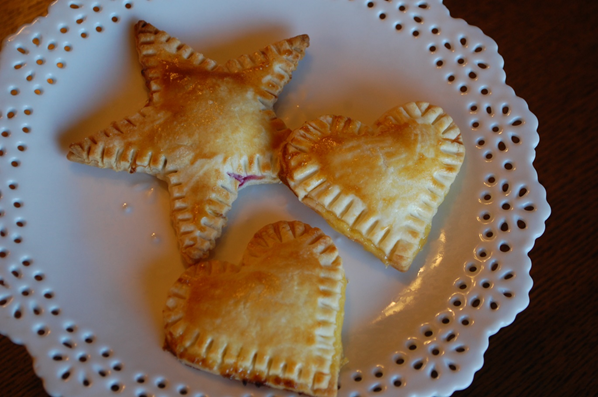
11. Enjoy!
Related posts:
Leave a Reply