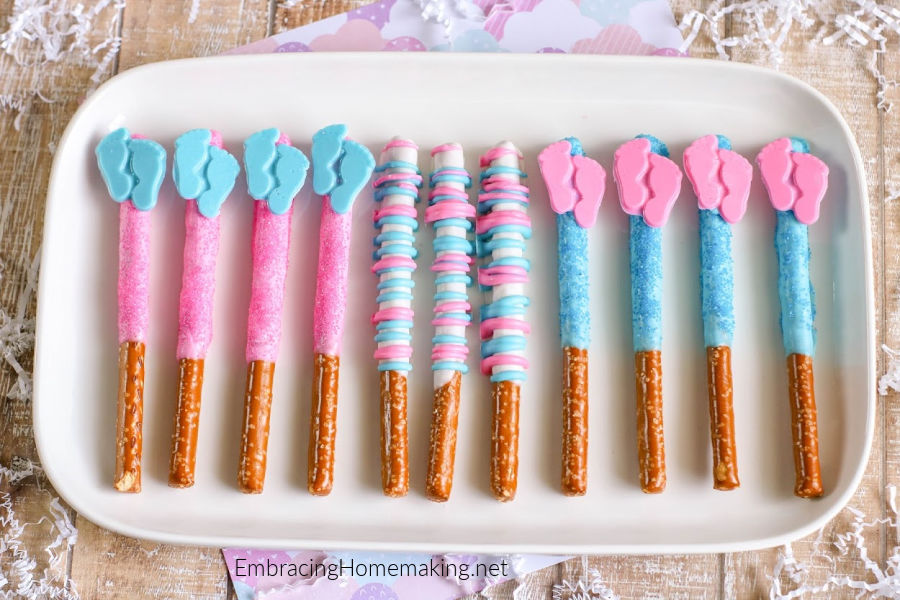
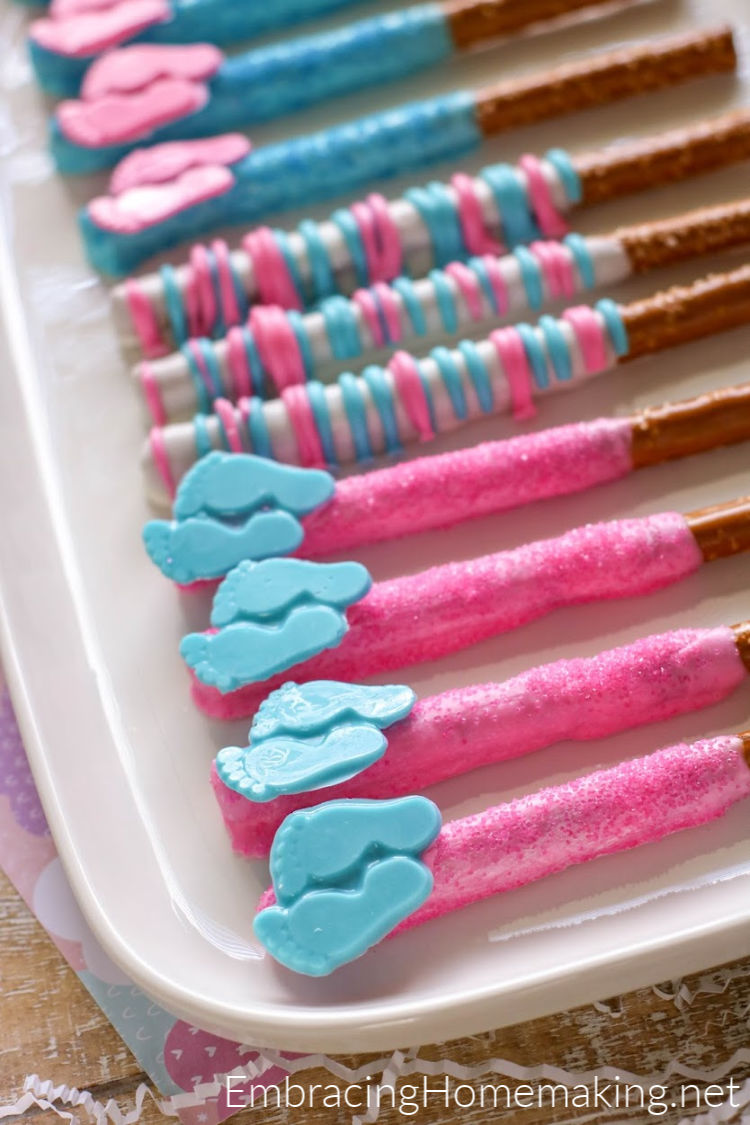
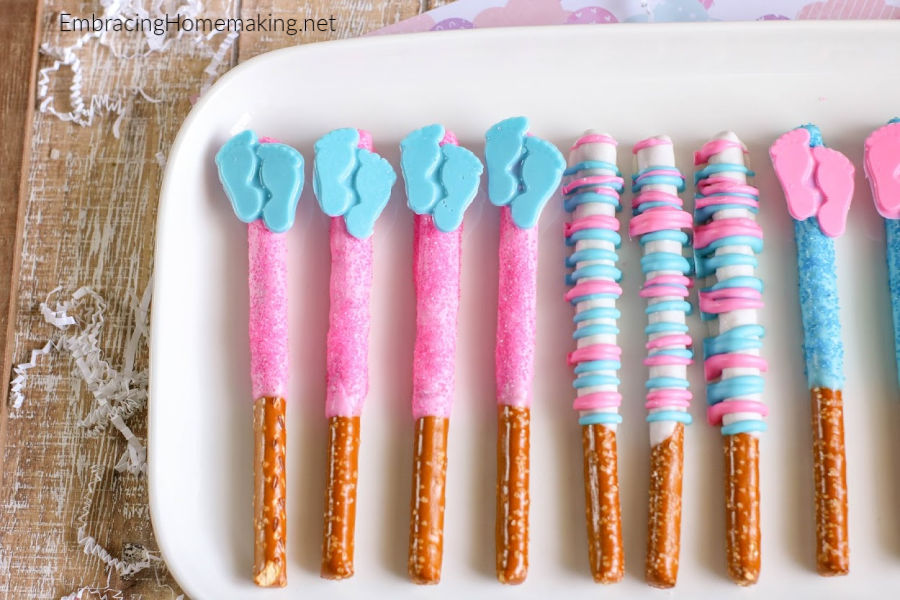
Gender reveals are so much fun, aren’t they? There is the anticipation! Then the pink and blue decorations! Plus, gathering all the family and friends together snapping dozens and dozens of pictures! What’s not to love?!
If you’re having a hard time finding a baby shower gender reveal snack that suits your taste? I think our baby shower gender reveal pretzel rods will fit the bill. That is if your taste enjoys salty and sweet, with pink and blue chocolate! These pretzel rods are tasty, well loved by young and old, and look oh so cute with very little effort. That’s a favorite of mine! Easy but looks super cute. That could probably be my motto for life. I like easy and cute. This quick, to the point, give me the recipe and cut the dialog recipe, does include affiliate links. I hope you’ll enjoy this fun, cute but not too cutesy, and yummy baby shower snack.
Baby Shower / Gender Reveal Pretzel Rod Ingredients:
- –Pretzel rods
–White candy melts or vanilla-flavored almond bark
–Pink candy melts
–Blue candy melts
-Assorted sprinkles or sanding sugar, if desired - -Optional baby feet candy mold
Baby Shower / Gender Reveal Pretzel Rod Instructions:
1. Melt the candy coating according to package directions giving special care not to overheat the candy. If the candy coating is overheated, it will be too thick. You can add 2 teaspoons of vegetable shortening or coconut oil to help thin the candy but do not add any other type of liquid as the candy will seize and harden. To tell you the truth, I’ve tried to heat chocolate many times with all the tips and tricks and I can’t do it without the help of this Wilton Candy Melting Pot. To me, it’s worth twice what it costs. It allows me to do it slowly, to not stress, and to even allow my kids to help because I don’t worry that the chocolate will get too hot. (At the time of this post, it’s available here on Amazon for just over $20 shipped)
2. Pour candy into feet molds if you’re doing that and allow them to cool completely before continuing.
3. Pour candy coating over two-thirds of the pretzel rod and shake gently to remove excess. If applying sprinkles, do so immediately rotating the pretzel rods to coat all sides. Larger sprinkles work best if placed individually.
4. Place pretzel rod on waxed paper or cooling rack. (Note: Waxed paper makes for easier release. I love these deli wax paper sheets for regular use and because the kids use them to trace all kinds of maps and pictures. Plus, they’re affordable!!)
5. If dipping with additional colored candy melts, allow initial candy coating to set completely. Then, use a spoon or fork to drizzle candy coating over the pretzel rods. Before the pretzel sets, gently pick it up and move to clean wax paper.
6. Let pretzel rods dry completely before packaging or serving.
Store in an airtight container at room temperature. Placing in the refrigerator may cause the pretzel to soften.
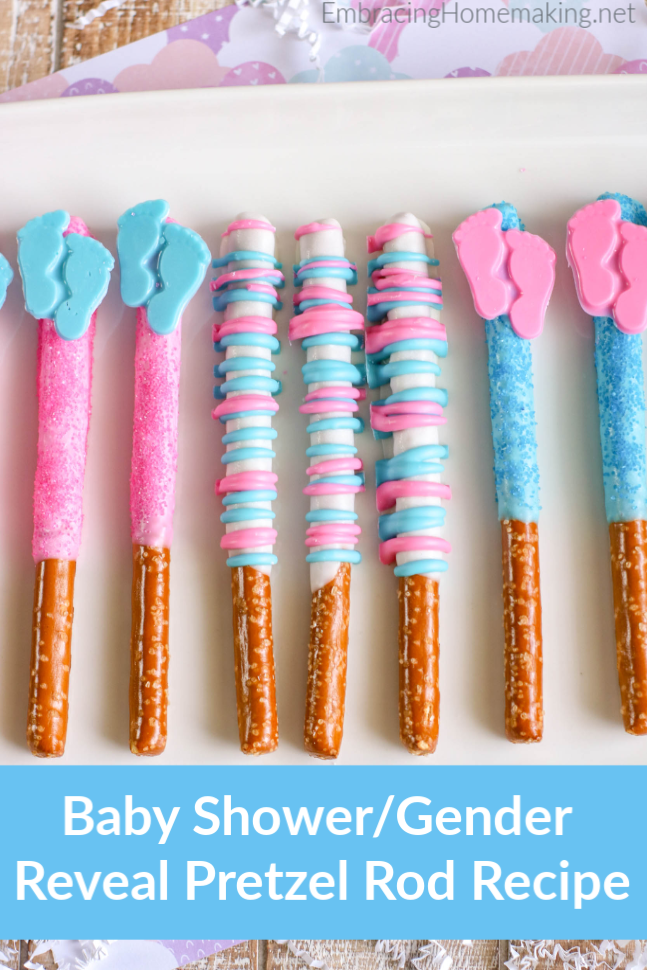
Do you want to save this for another day? Possibly for the next kid 😉 or a shower you’ll plan for a friend? If so, pin the image below. 🙂 Enjoy!


Leave a Reply